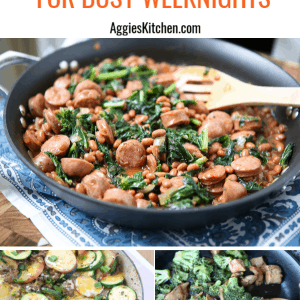
Healthy Easy Skillet Meals For Busy Weeknights {Plus Meal Prep Tips for Families}
Easy skillet meals you can make for your family on busy nights during week. With the help of a...
Easy skillet meals you can make for your family on busy nights during week. With the help of a...

My go-to london broil marinade recipe with mustard, balsamic vinegar and garlic. This tender cut of beef is a...
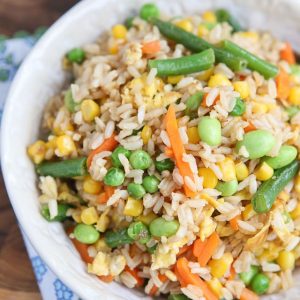
This Vegetable Fried Brown Rice comes together quick with just 5 ingredients. A tasty and healthy brown rice recipe...
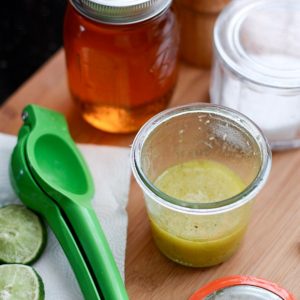
Use this Honey Lime Vinaigrette recipe as a marinade for grilled chicken or seafood, or as a dressing for...
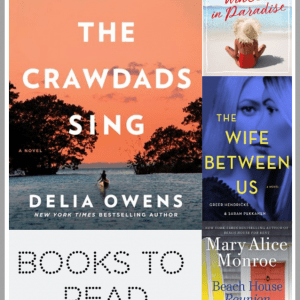
Here’s my January wrap up of what I read – it was a great month of reading!
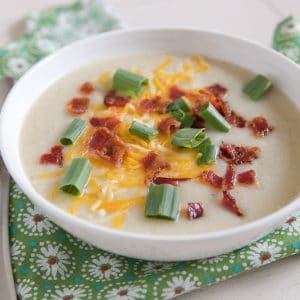
Creamy and delicious, this Cauliflower Potato Soup hits the spot at dinner. Load up your bowl with all your...

If you asked me who is playing this weekend for Super Bowl I honestly would only be able to...
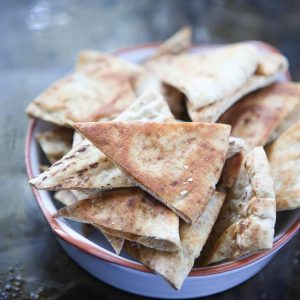
There is nothing better than a batch of homemade baked pita chips to serve with dips! My family loves...
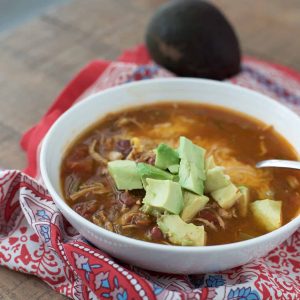
Enjoy a comforting bowl of Mexican Chicken Soup seasoned with chili, cumin and smoked paprika and filled with chicken,...
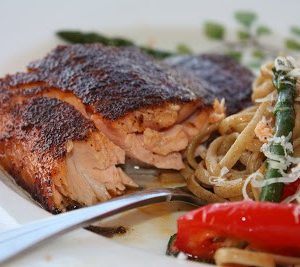
Salmon with sweet spicy rub is an easy, healthy broiled salmon that is packed with bold flavor! This easy salmon recipe...
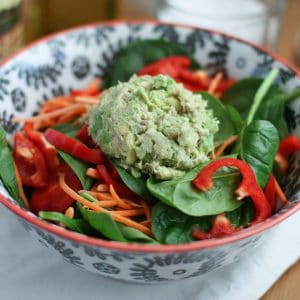
Perfect for a quick and light lunch or dinner, this protein packed Avocado Tuna Salad with Spinach will get...
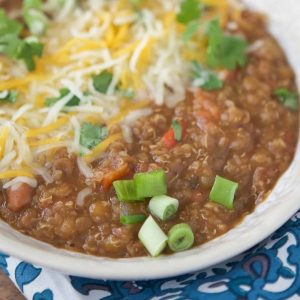
You won’t miss the meat in this Instant Pot Vegetarian Chili! It’s hearty, healthy and delicious – filled with...

Hi there and welcome to my kitchen! Here you'll find lots of food - mostly healthy, simple and fresh recipes you and your family will love. Pull up a stool and stay a while.